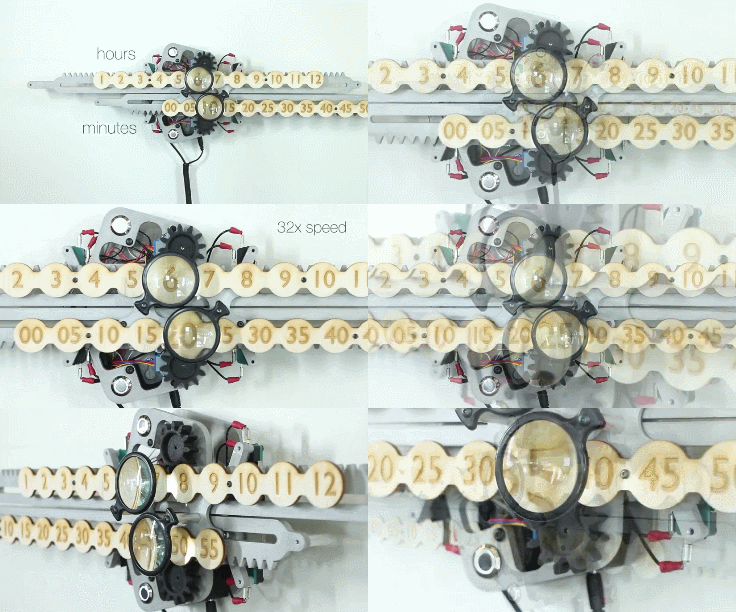
There is no better way to learn electronics than playing around with Arduino and Raspberry Pi platforms. This project from JON-A-TRON shows how you can build your own Arduino driven perpetual clock. It is made of 6061 aluminum, steel hardware, 3D printed gears, an Arduino UNO, and laser cut plywood.
Currently Trending Geeky Gadgets
Jonathan Odom designed and fabricated the Perpetual Clock at the Autodesk Pier 9 Workshop in San Francisco. Looks like a fun DIY project if you ask us.
[Source]
**Disclaimer: Our posts may feature aff links. As an Amazon Associate, we earn from qualifying purchases. Please read our disclaimer on how we fund this site.


